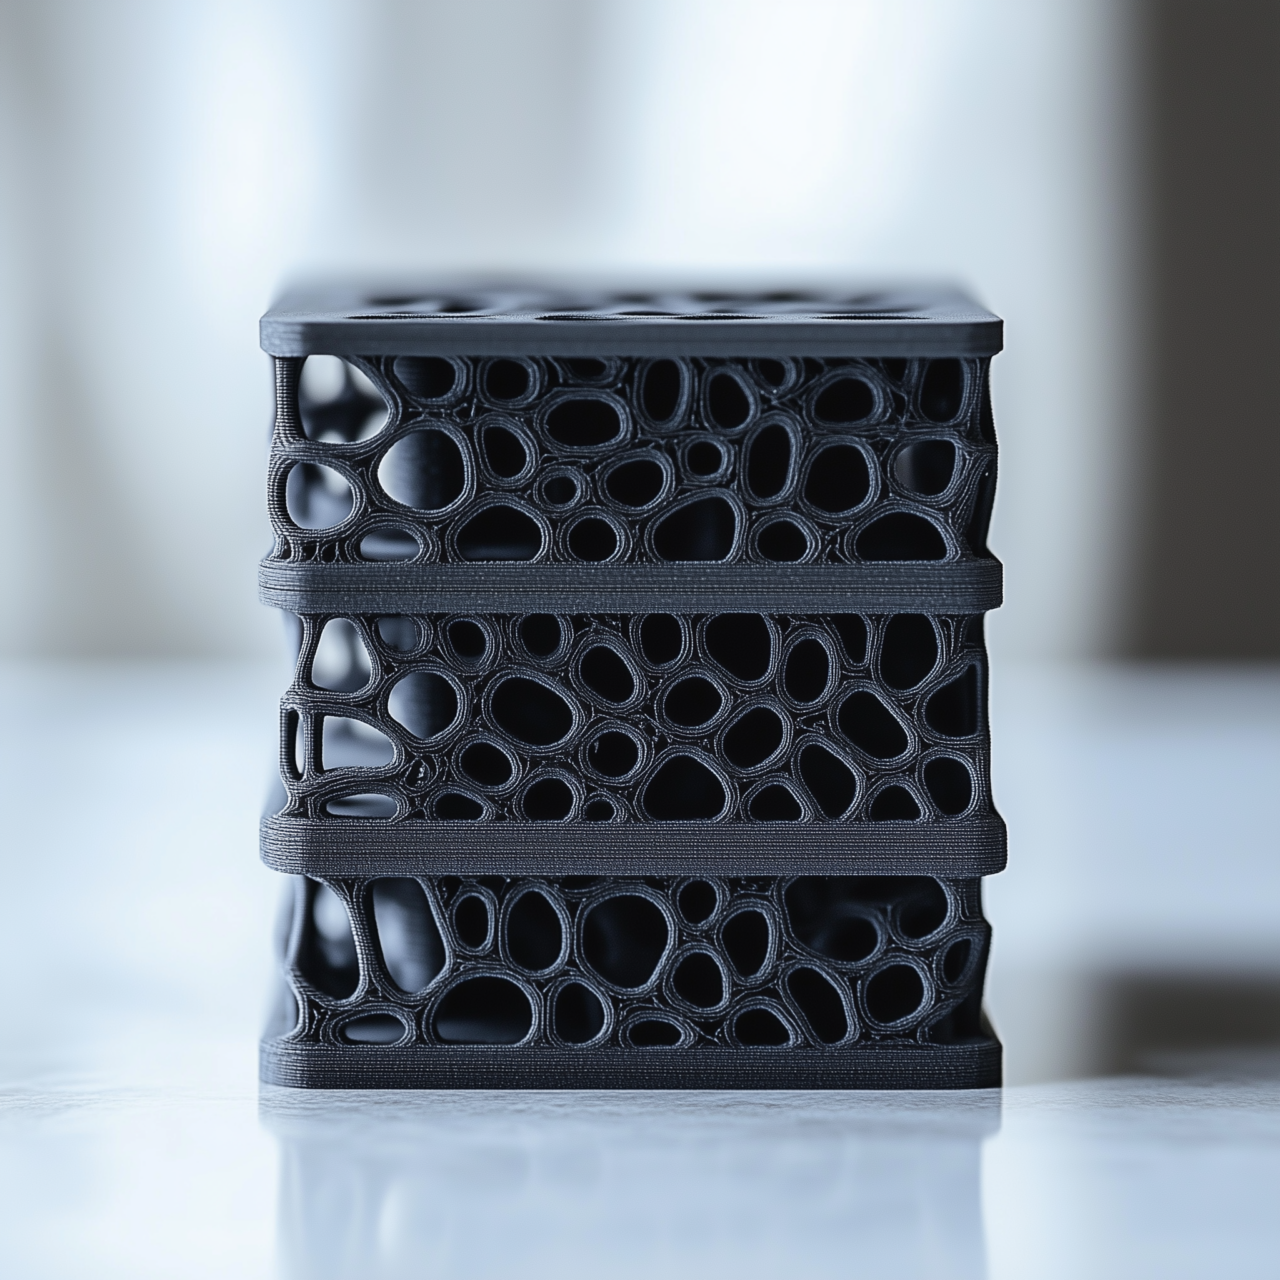
a pattern of 3dprinted side view of layers, black simple plastic, horizontal, accurate high resolution
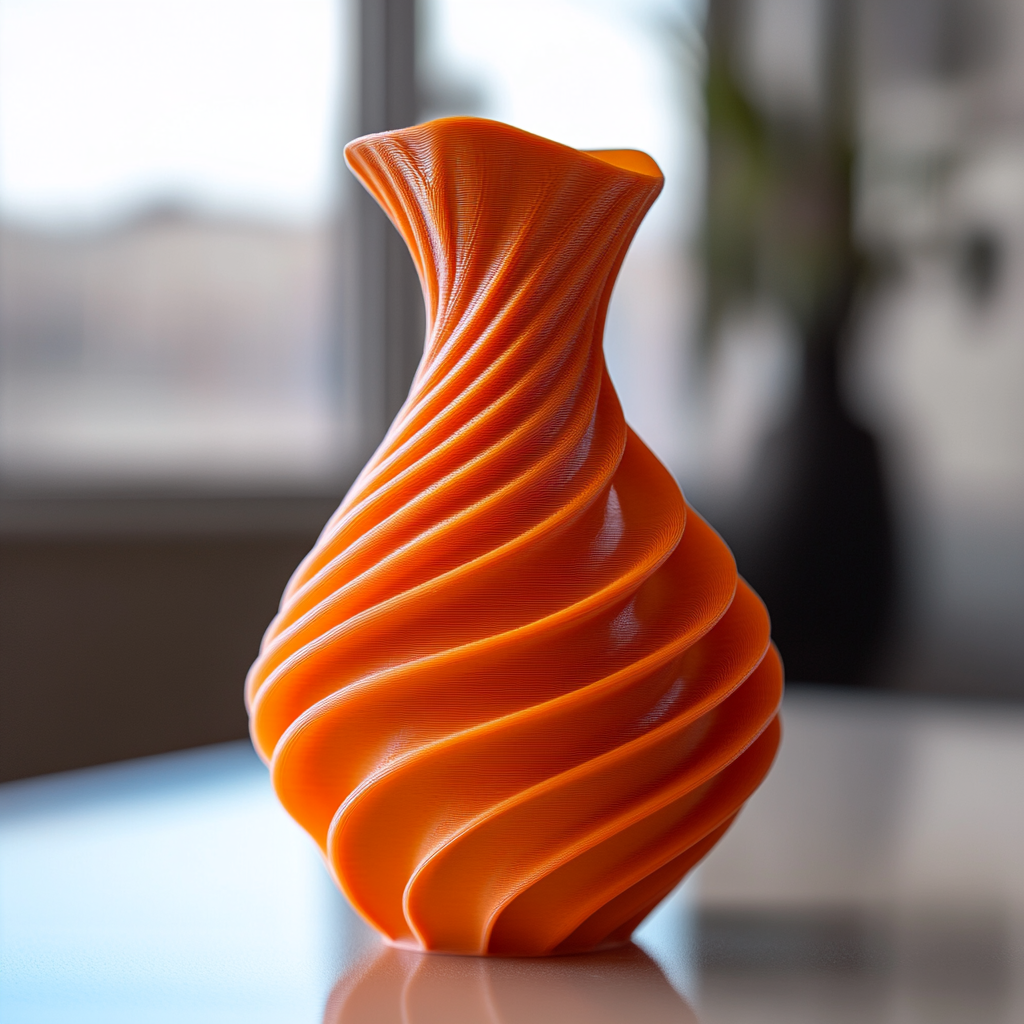
A vase, 3d printer, printing, beautiful
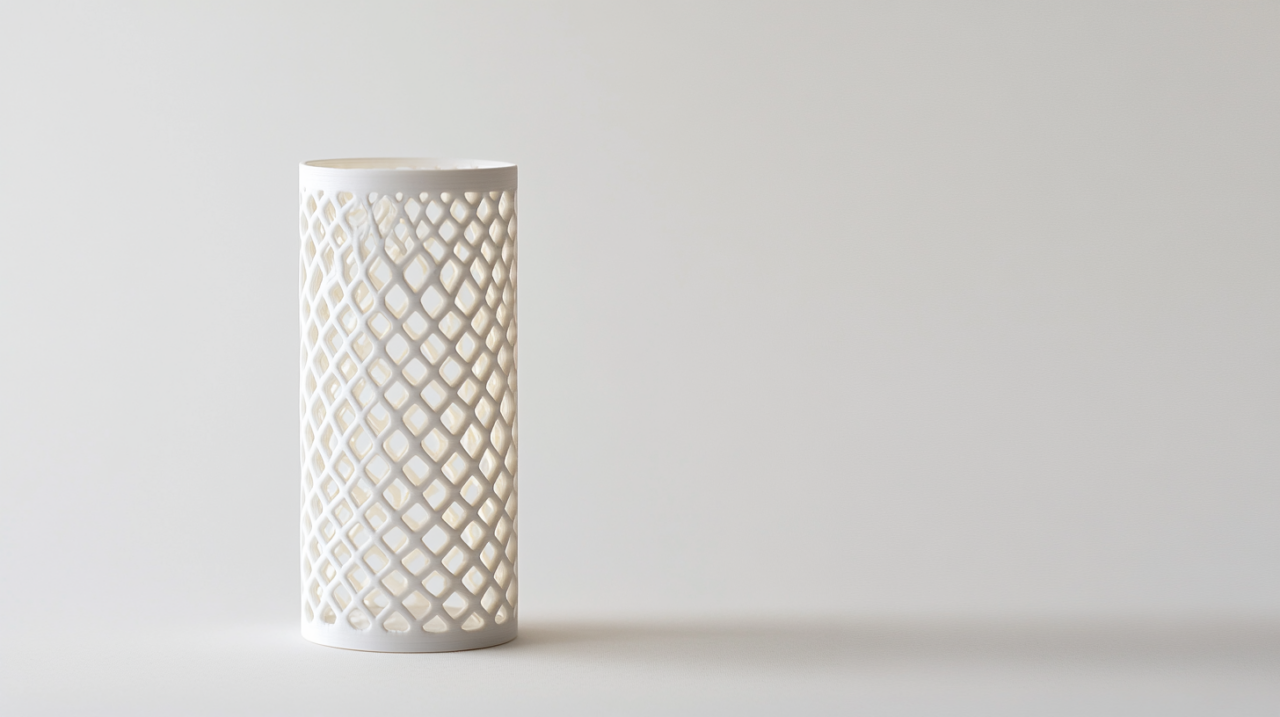
Minimal cylinder shape slim 3D printed light with layered small lattice patterns,table height,white background
The Tale of a Tail
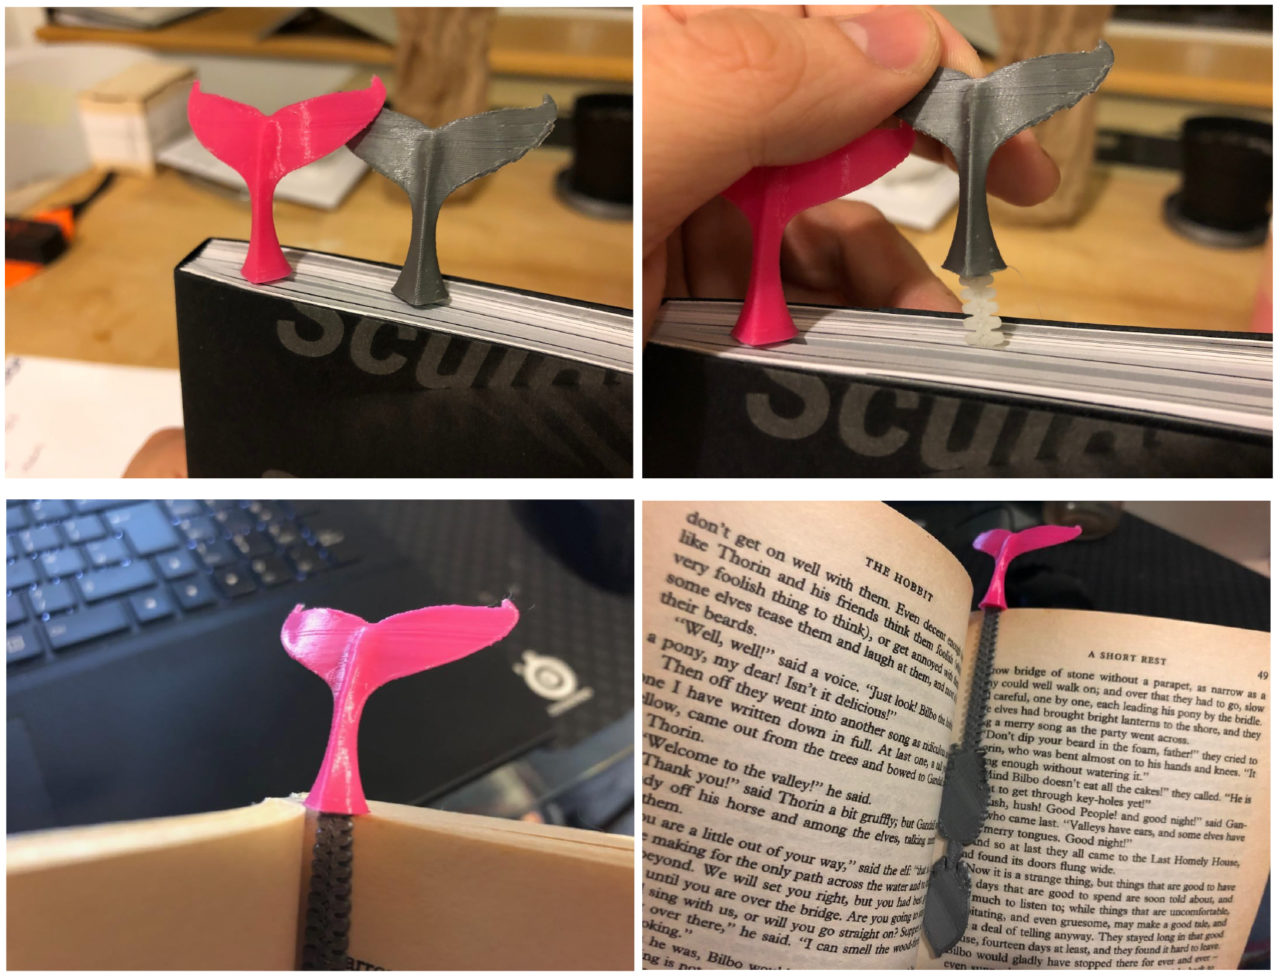
Whales have a long central role in our imagination. Stories range from Jonnah captive in the belly of a whale to Captain Ahab’s obsessive pursuit of Mobi Dick to a small boy’s desperation to free Willy. My bookmark anticipates the possible end of this tradition, the
extinction of the whales.
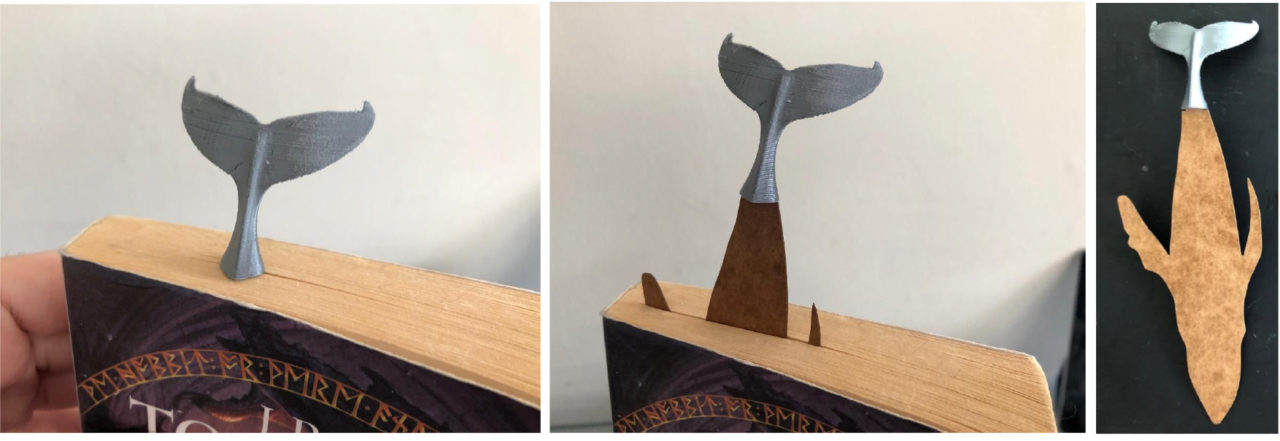
My bookmark’s tale begins happily enough with the whale’s tail, the flukes, welcoming you, inviting you to dive deep into the book you are reading. However, the experience turns quickly darker when you pull up the tail to see the skeleton.
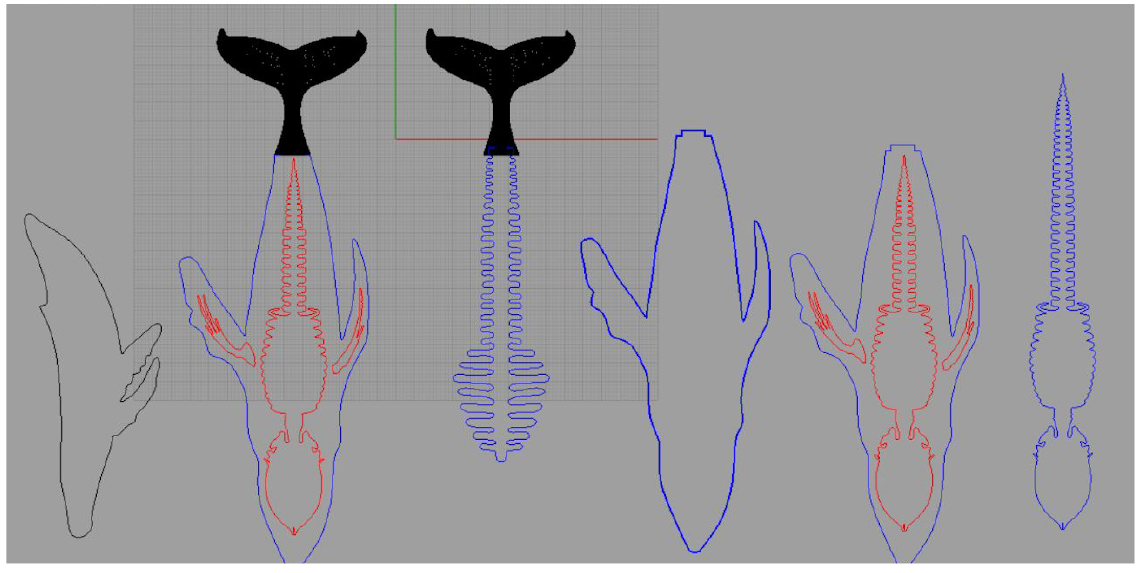
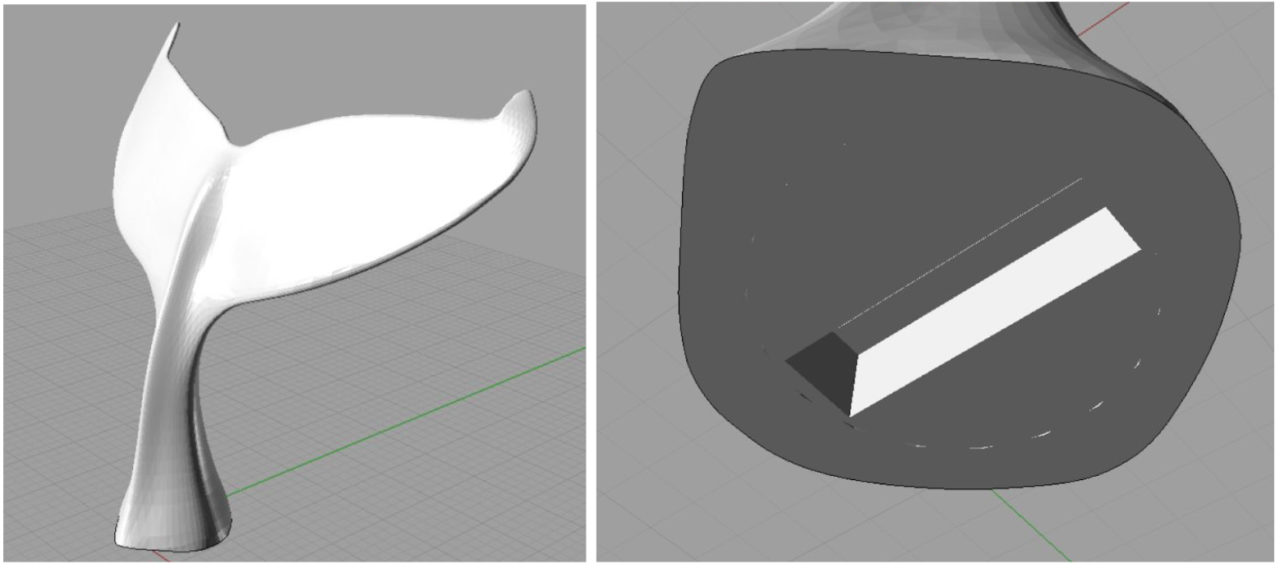
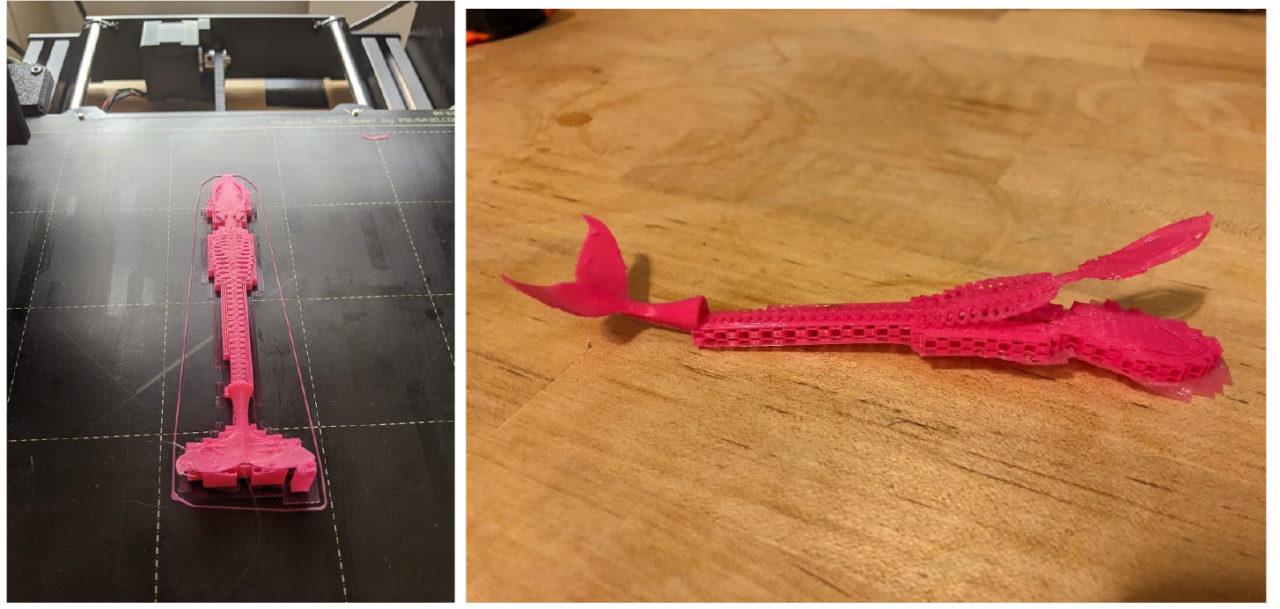
I drew closed layers of lines and lofted them. In order to get more detail I made the layers of lines closer. After creating lofted surface, I mirrored it and made the whole tail. I also added a slot where skeleton piece could be attached.
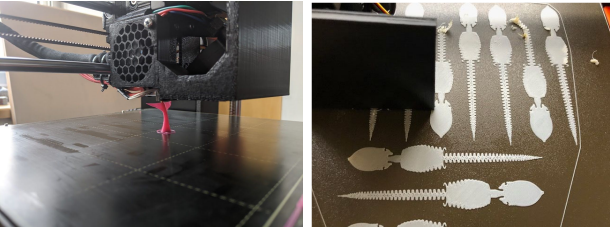
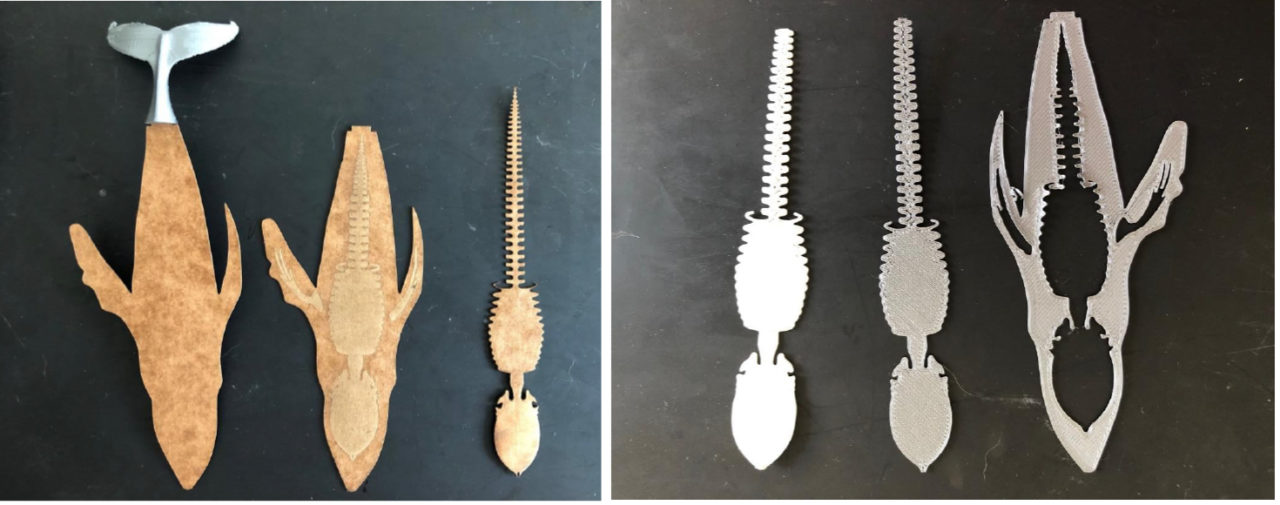
I created a file including a skeleton, and whale exterior and added a whale figure engraved with a skeleton to laser cut in Adobe Illustrator.

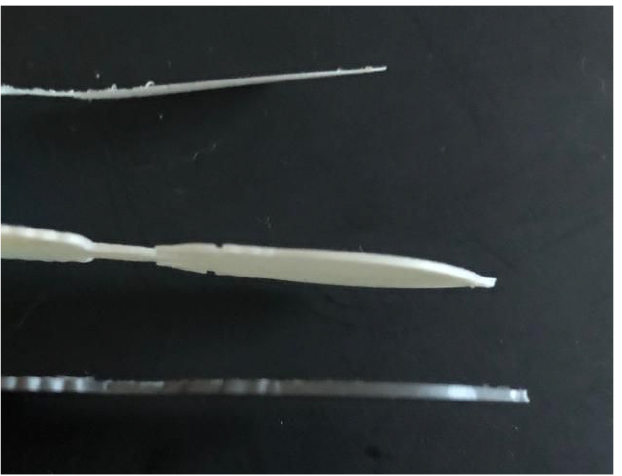
I also tried different thicknesses for the bookmark. I wanted it to be flexible and durable but not too thick.
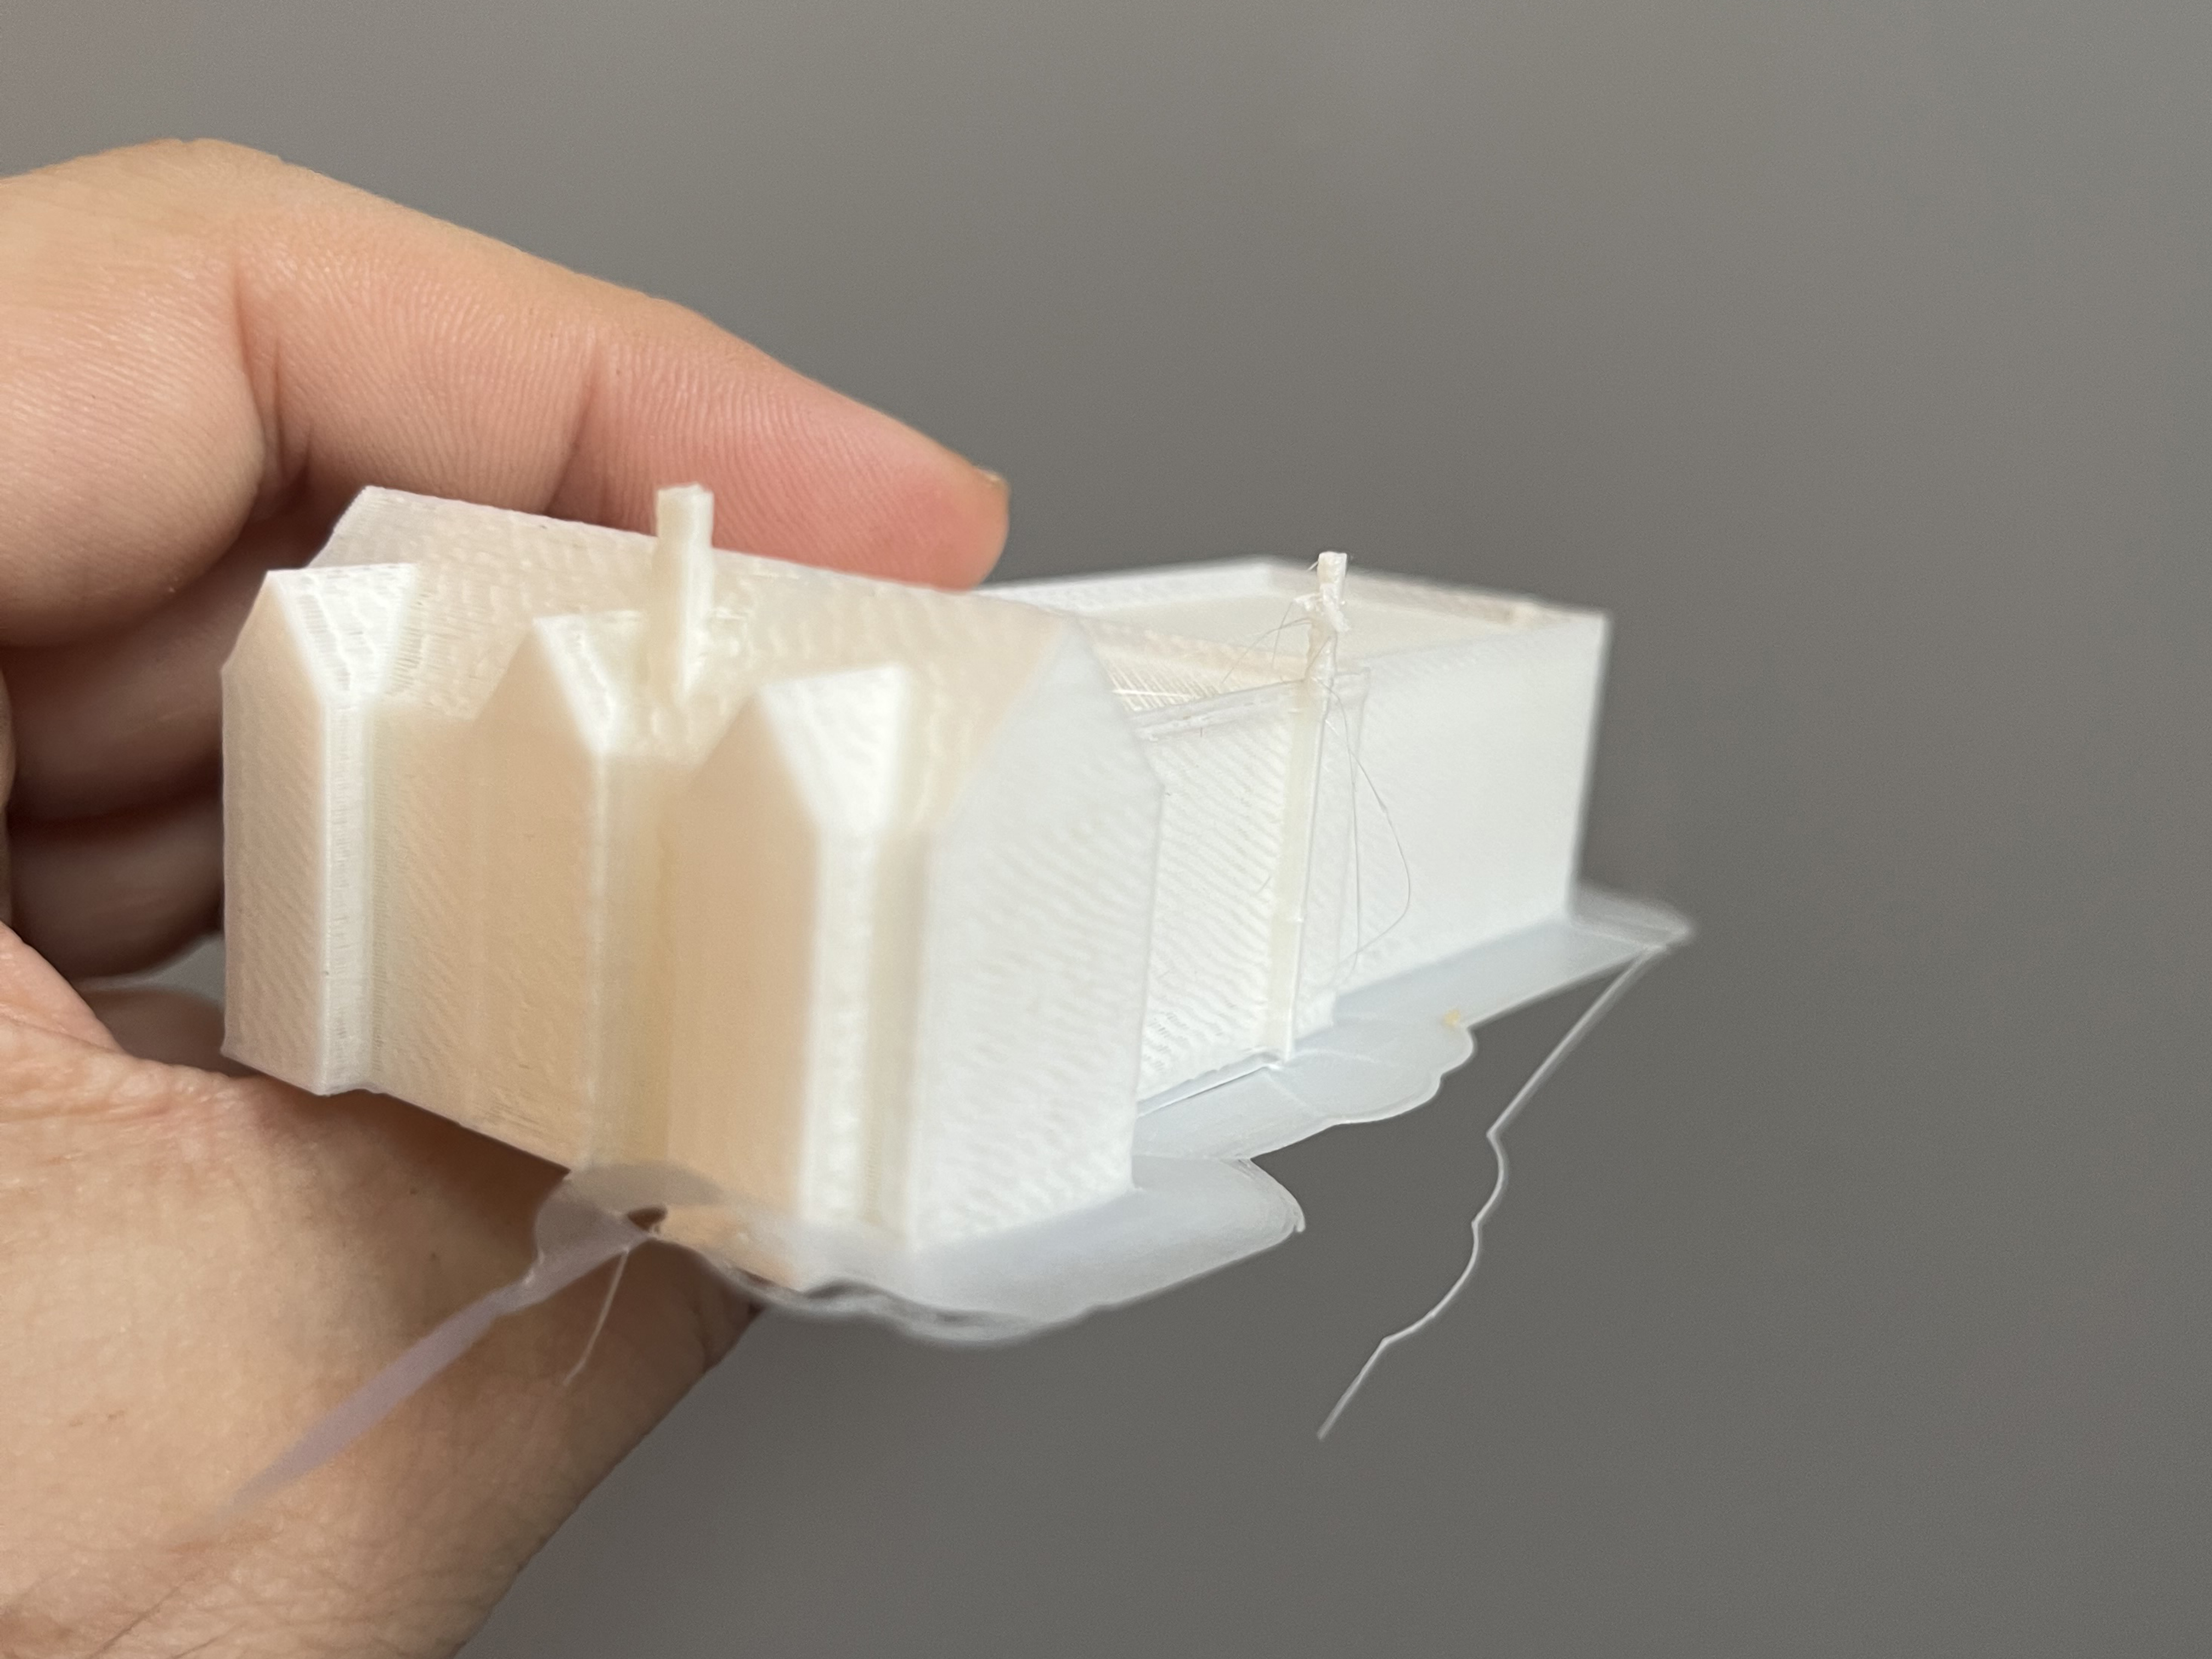
I tried to print it as one piece; however, in that case, it was almost impossible to separate it from the support material. In my first attempt at printing the flukes, I used support materials. I ended up with more excess support material than the material in the flukes. It was also very difficult to separate the flukes from the excess support material. The software also added redundant support material to the flukes (Figure 14). Later, I tried it without support material and all went well.
Challenges and Limitations
● It was difficult for me to create an amorph surface with Rhino 3D. I still want to learn Maya or Blender.
● Because I was not experienced I made lots of mistakes. I overspent on time and material.
Insights:
● I learned 3D printing process is not always reliable. I cannot start printing and leave and expect it to print predictably. Material, format, modeling mistakes, various parameters, and mechanical adjustments can all cause printing mishaps. I realized that we may not always get the same results under apparently identical conditions.
● There are many 3D printer troubleshooting issues. These include:
○ Blocked nozzle,
○ Print heat missing the print bed,
○ Snapped and stripped filament,
○ Print not sticking to the bed,
○ Cracks appearing on lengthy vertical objects,
○ Layers not lining up well sometimes,
○ Surface areas beneath or above the support material are sometimes rough,
○ Fine details do not print correctly every time.
● Although I did not encounter some of the problems above, some of my classmates did. I was glad to learn from them.
● We can get better surfaces with slower printing.
● We should check to be sure there is enough filament on the row.
● We should consider the amount of waste and decide whether we need less or any support material.
● We need more experience to get better results with 3D printing: however, it is fun to work with and useful to see our prototypes quickly.
Next steps:
I want to get more experience with 3D printing. I want to continue working on my model. There are several details I want to change on it, particularly the flukes. I also hope to find a way to make the bookmark as one piece.
